web ·
How To Correctly Export And Migrate Away From Google Photos
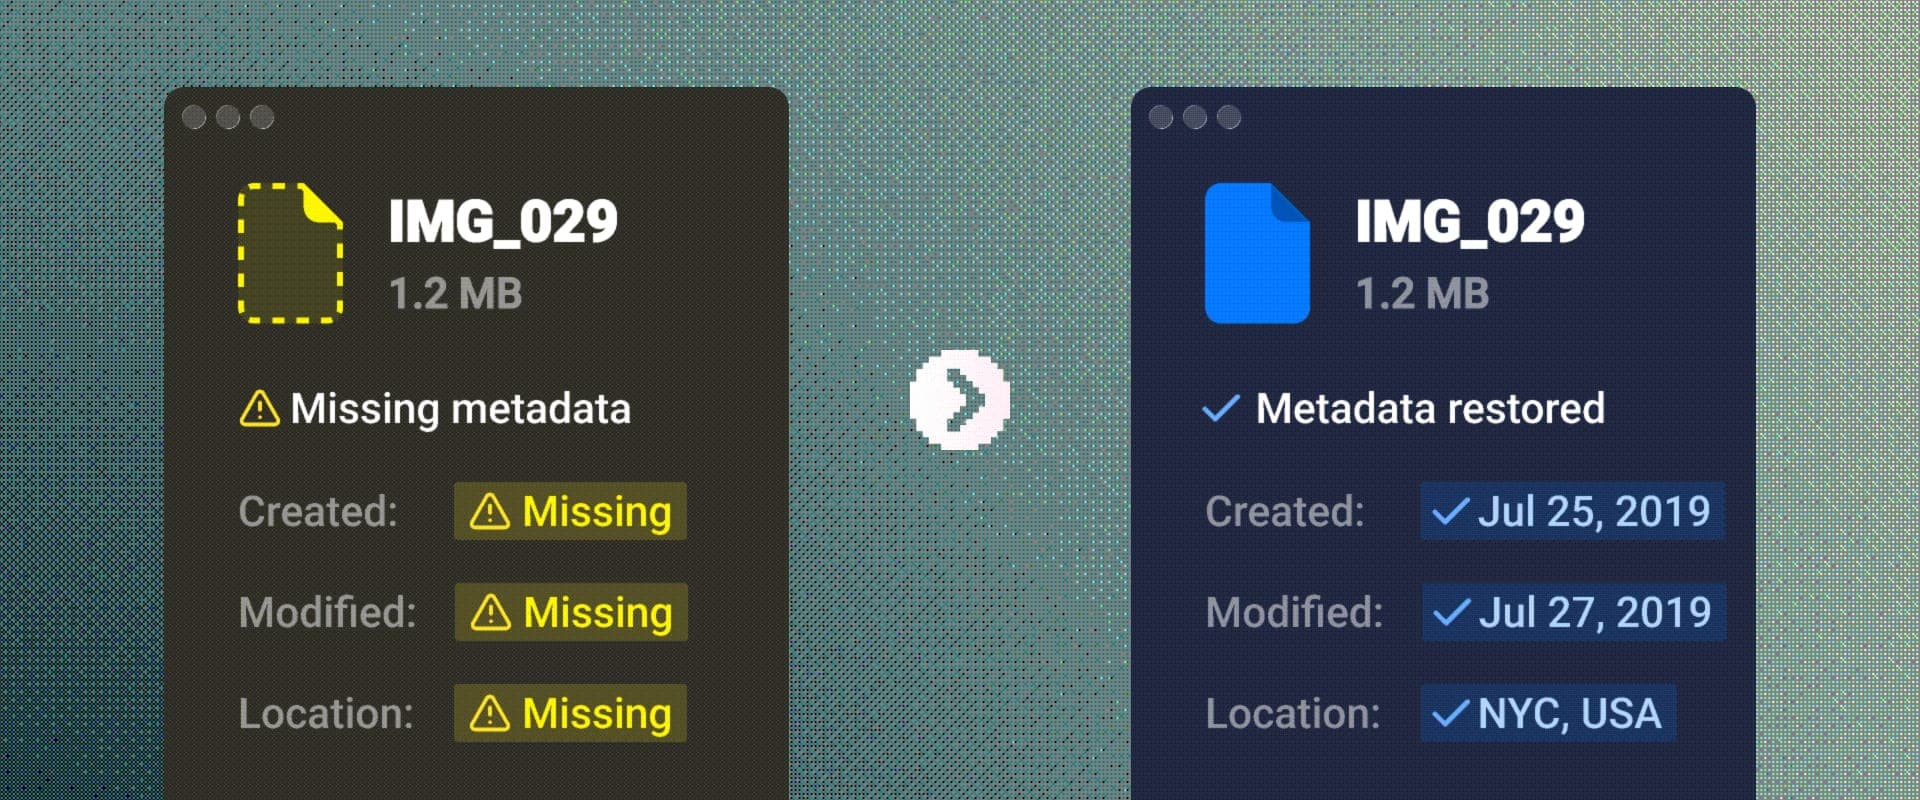
Downloading your pictures from Google Photos via Takeout Export messes up the EXIF data of images. If re-importing elsewhere, like in Apple Photos' iCloud, it's important to fix that data in order to have a successful import that stays in chronological order and with the correct GPS coordinates.
01Automatic method · Recommended
Exporting Your Library Out of Google Photos, Automatically
The Google Photos exporter walks you through the whole migration, from requesting your export out of Google Photos to fixing everything in it automatically. It restores every date, GPS location, caption and people tag to your photos and videos, right in your browser.
 The exporter walks you through getting your library out of Google, then fixes everything locally in your browser. Try it at takeout.legault.me.
When the exporter finishes, your files are fixed and ready to move: skip ahead to Moving Your Library to iCloud and Apple Photos below.
02Manual method · 6 Terminal steps
Use the exporterUse the exporter insteadThe Manual Method: Fixing Image and Video EXIF Data With ExifTool
Prefer doing it by hand, or curious what’s actually happening to your files? The manual method is the exact same process, one Terminal command at a time.
Takeout doesn’t just hand you your files. It strips the EXIF data (dates, GPS locations) from many of them and ships that metadata in separate JSON files, so importing the export as-is scrambles your library’s chronology. The six steps below download your library and merge everything back in.
Step 1: Download all files from Google Photos via Google Takeout
- Navigate to Google Takeout
- Deselect all, and select the Photos archive
- Download and unzip your archive. If the export comes as several zips, unzip them all into the same folder, since photos and their metadata files often end up split across zips.
Inside, each picture and video comes with a JSON file holding the metadata Google stripped out. The next steps merge it back into the files themselves.
Step 2: Set up ExifTool
- Install ExifTool, the free tool that will copy the metadata from the JSON files back into your photos and videos.
- Open Terminal (on Windows, PowerShell) and run the commands in the steps below in order. Replace
<YourTakeoutFolder>with the path of theTakeoutfolder you unzipped (on Mac, drag the folder into Terminal to fill it in). Subfolders are included automatically.
Step 3: Rename the JSON files
Takeout names its metadata files inconsistently (photo.jpg.json, photo.jpg.supplemental-metadata.json, truncated and numbered variants). This renames them all to one predictable form:
exiftool -r -ext json '-FileName<${FileName;s/^(.+?\.\w{2,4})\.[^.()]+((?:\(\d+\))?)\.json$/$1$2.json/i; s/^(.+?)\.(\w{2,4})\((\d+)\)\.json$/$1($3).$2.json/i}' <YourTakeoutFolder>exiftool -r -ext json -charset filename=utf8 '-FileName<${FileName;s/^(.+?\.\w{2,4})\.[^.()]+((?:\(\d+\))?)\.json$/$1$2.json/i; s/^(.+?)\.(\w{2,4})\((\d+)\)\.json$/$1($3).$2.json/i}' <YourTakeoutFolder>Step 4: Fix wrong file extensions
Google often converts photos and videos without renaming them: a .HEIC file that’s really a JPEG, a .MOV that’s really an MP4. The mismatch blocks the metadata from being written, so this renames those files (and their JSON) to the correct extension:
exiftool -r -q -if '$FileTypeExtension and $FileName !~ m{\.(\Q$FileTypeExtension\E|jpeg)$}i' -p '$Directory/$FileName|$FileTypeExtension' -ext '*' --ext json --ext html <YourTakeoutFolder> | while IFS='|' read -r f ext; do mv "$f" "${f%.*}.$ext"; [ -e "$f.json" ] && mv "$f.json" "${f%.*}.$ext.json"; doneexiftool -r -q -if '$FileTypeExtension and $FileName !~ m{\.(\Q$FileTypeExtension\E|jpeg)$}i' -p '$Directory/$FileName|$FileTypeExtension' -ext '*' --ext json --ext html -charset filename=utf8 <YourTakeoutFolder> | ForEach-Object { $f, $ext = $_ -split '\|'; $new = $f -replace '\.[^.]+$', ".$ext"; Move-Item -LiteralPath $f -Destination $new; if (Test-Path -LiteralPath "$f.json") { Move-Item -LiteralPath "$f.json" -Destination "$new.json" } }A few renames like .heic to .heif are just the container’s preferred spelling. They’re harmless.
Step 5: Copy the metadata into your files
The main step. It writes every date, GPS location, caption, tag and people name from the JSON files into the photos and videos themselves. The command is long because it maps each Google field to its standard counterpart; you don’t need to read it, just paste it:
exiftool -r -d %s -tagsfromfile '%d/%F.json' \
'-AllDates<CreationTimeTimestamp' \
'-AllDates<PhotoTakenTimeTimestamp' \
'-FileModifyDate<CreationTimeTimestamp' \
'-FileModifyDate<PhotoTakenTimeTimestamp' \
'-FileCreateDate<CreationTimeTimestamp' \
'-FileCreateDate<PhotoTakenTimeTimestamp' \
'-QuickTime:TrackCreateDate<CreationTimeTimestamp' \
'-QuickTime:TrackCreateDate<PhotoTakenTimeTimestamp' \
'-QuickTime:TrackModifyDate<CreationTimeTimestamp' \
'-QuickTime:TrackModifyDate<PhotoTakenTimeTimestamp' \
'-QuickTime:MediaCreateDate<CreationTimeTimestamp' \
'-QuickTime:MediaCreateDate<PhotoTakenTimeTimestamp' \
'-QuickTime:MediaModifyDate<CreationTimeTimestamp' \
'-QuickTime:MediaModifyDate<PhotoTakenTimeTimestamp' \
'-GPSLatitude<${GeoDataLatitude;$_ = undef if $_ == 0 and $self->GetValue("GeoDataLongitude") == 0}' \
'-GPSLatitudeRef<${GeoDataLatitude;$_ = undef if $_ == 0 and $self->GetValue("GeoDataLongitude") == 0}' \
'-GPSLongitude<${GeoDataLongitude;$_ = undef if $_ == 0 and $self->GetValue("GeoDataLatitude") == 0}' \
'-GPSLongitudeRef<${GeoDataLongitude;$_ = undef if $_ == 0 and $self->GetValue("GeoDataLatitude") == 0}' \
'-GPSAltitude<${GeoDataAltitude;$_ = undef if $self->GetValue("GeoDataLatitude") == 0 and $self->GetValue("GeoDataLongitude") == 0}' \
'-Keys:GPSCoordinates<${GeoDataLatitude;$_ = undef if $_ == 0 and $self->GetValue("GeoDataLongitude") == 0}, $GeoDataLongitude, $GeoDataAltitude' \
'-Keywords<Tags' \
'-+IPTC:Keywords<PeopleName' \
'-Subject<Tags' \
'-+XMP-dc:Subject<PeopleName' \
'-+XMP-iptcExt:PersonInImage<PeopleName' \
'-Caption-Abstract<Description' \
'-ImageDescription<Description' \
'-XMP:Description<Description' \
-api QuickTimeUTC -api LargeFileSupport=1 -api NoDups=1 -m \
-ext '*' --ext json --ext html \
-overwrite_original -progress <YourTakeoutFolder>exiftool -r -d %s -tagsfromfile '%d/%F.json' '-AllDates<CreationTimeTimestamp' '-AllDates<PhotoTakenTimeTimestamp' '-FileModifyDate<CreationTimeTimestamp' '-FileModifyDate<PhotoTakenTimeTimestamp' '-FileCreateDate<CreationTimeTimestamp' '-FileCreateDate<PhotoTakenTimeTimestamp' '-QuickTime:TrackCreateDate<CreationTimeTimestamp' '-QuickTime:TrackCreateDate<PhotoTakenTimeTimestamp' '-QuickTime:TrackModifyDate<CreationTimeTimestamp' '-QuickTime:TrackModifyDate<PhotoTakenTimeTimestamp' '-QuickTime:MediaCreateDate<CreationTimeTimestamp' '-QuickTime:MediaCreateDate<PhotoTakenTimeTimestamp' '-QuickTime:MediaModifyDate<CreationTimeTimestamp' '-QuickTime:MediaModifyDate<PhotoTakenTimeTimestamp' '-GPSLatitude<${GeoDataLatitude;$_ = undef if $_ == 0 and $self->GetValue("GeoDataLongitude") == 0}' '-GPSLatitudeRef<${GeoDataLatitude;$_ = undef if $_ == 0 and $self->GetValue("GeoDataLongitude") == 0}' '-GPSLongitude<${GeoDataLongitude;$_ = undef if $_ == 0 and $self->GetValue("GeoDataLatitude") == 0}' '-GPSLongitudeRef<${GeoDataLongitude;$_ = undef if $_ == 0 and $self->GetValue("GeoDataLatitude") == 0}' '-GPSAltitude<${GeoDataAltitude;$_ = undef if $self->GetValue("GeoDataLatitude") == 0 and $self->GetValue("GeoDataLongitude") == 0}' '-Keys:GPSCoordinates<${GeoDataLatitude;$_ = undef if $_ == 0 and $self->GetValue("GeoDataLongitude") == 0}, $GeoDataLongitude, $GeoDataAltitude' '-Keywords<Tags' '-+IPTC:Keywords<PeopleName' '-Subject<Tags' '-+XMP-dc:Subject<PeopleName' '-+XMP-iptcExt:PersonInImage<PeopleName' '-Caption-Abstract<Description' '-ImageDescription<Description' '-XMP:Description<Description' -api QuickTimeUTC -api LargeFileSupport=1 -api NoDups=1 -m -ext '*' --ext json --ext html -charset filename=utf8 -overwrite_original -progress <YourTakeoutFolder>It can take a while on a large library, and ExifTool shows its progress as it goes. When it finishes, it prints a summary like 209 image files updated.
Warnings along the way are normal:
- “Error opening file” means a missing
.json. Live Photo videos and “-edited” copies don’t have one (more on those under “Good to know” below). - “Error converting value for GPS” is the skip for photos with no location data.
What this command gets right
- Photos and videos (video dates and location are stored differently)
- Photos with no location data are skipped instead of being geotagged to a wrong spot
- Photos older than 1970
- Photos whose metadata has no “taken” date fall back to their Google Photos upload date instead of getting no date at all
- People and face tags are written as keywords (so they’re searchable in Apple Photos and elsewhere) and into the standard “person shown” tag
- File creation and modification dates, so everything also sorts correctly in Finder
Step 6 (optional): Date the leftover files from their filenames
A few files have no metadata JSON at all (Live Photo videos, “-edited” copies, strays), but many of them encode the capture date right in their name, like IMG_20190919_123456.jpg. This fills in dates from filenames for files that still have none and whose name contains a recognizable date, leaving everything else alone:
exiftool -r -if 'not $DateTimeOriginal' -if '$Filename =~ /(19|20)\d{6}|(19|20)\d{2}-\d{2}-\d{2}/' '-AllDates<Filename' \
-m -ext '*' --ext json --ext html \
-overwrite_original -progress <YourTakeoutFolder>exiftool -r -if 'not $DateTimeOriginal' -if '$Filename =~ /(19|20)\d{6}|(19|20)\d{2}-\d{2}-\d{2}/' '-AllDates<Filename' -m -ext '*' --ext json --ext html -charset filename=utf8 -overwrite_original -progress <YourTakeoutFolder>Files whose name doesn’t contain a date (like P1050123.jpg or the video halves of Live Photos) are skipped entirely, so nothing gets a made-up date. To see what’s still missing a date afterwards:
exiftool -r -if 'not $DateTimeOriginal' -p '$Directory/$FileName' -ext '*' --ext json --ext html <YourTakeoutFolder>Good to know
- The commands are safe to re-run if anything gets interrupted. If ExifTool then complains about a temporary file, delete any file ending in
_exiftool_tmpand run it again. - Times are written in your computer’s timezone, so photos taken while traveling can be off by a few hours.
- Some files legitimately have no JSON: the video halves of Live Photos (they pair back up with their photo when imported into Apple Photos) and “-edited” copies (duplicates of the originals, safe to delete). Likewise,
.MP/.MVfiles from Pixel phones are the video halves of Motion Photos and need no fixing.

Skip the Terminal
The Google Photos exporter walks you through the export, then does all the fixing right in your browser. Your photos never leave your computer.
Open the exporterMoving Your Library to iCloud and Apple Photos
Whether you used the exporter or the commands above, the rest is the same.
- Open Photos.app on a Mac and use File > Import. Don’t drag everything into the app window, the menu import works much better for large libraries.
- Everything should import well. If some pictures show up at the wrong date, correct them manually with Image > Adjust Date and Time.
Clean Up Your Google Photos Library (Optional)
Only needed if you’re keeping Google Photos as a secondary backup.
- Let it re-upload everything once. The Google Photos phone app will recognize all the pictures newly added to your iCloud as new pictures and start uploading them again as duplicates. I couldn’t find a way to prevent that, so let it upload the whole library again.
- Delete the duplicates. Once everything is uploaded, navigate to photos.google.com/search/_tra_, where pictures are sorted by upload time. Select all the newly added pictures and delete them. Google Photos will not reupload the deleted duplicates, and it will keep uploading new pictures you take on your phone as usual.
Comments